
Introduction
Today's blog post discusses a great topic for those of you looking to implement multiple themes in your React Native project. If you're wondering achieve this functionality, you've come to the right place. Let's dive into the coding process.
Creating Project
npx create-expo-app react-native-dark-light-theme- Next, navigate to the project directory:
cd react-native-dark-light-themeInstalling Dependencies
- To install the necessary dependencies, follow these steps:
npm install @react-navigation/native
npx expo install react-native-screens react-native-safe-area-context
npm install @react-navigation/native-stack
Starting the Emulator:
- To launch the emulator, run the command:
npx expo start- The emulator is up and running!

Implementation
-
Now let's create the screens and their basic structure. Our project will have two screens: Home and Settings. We'll update the preferred color theme from the Settings screen.
-
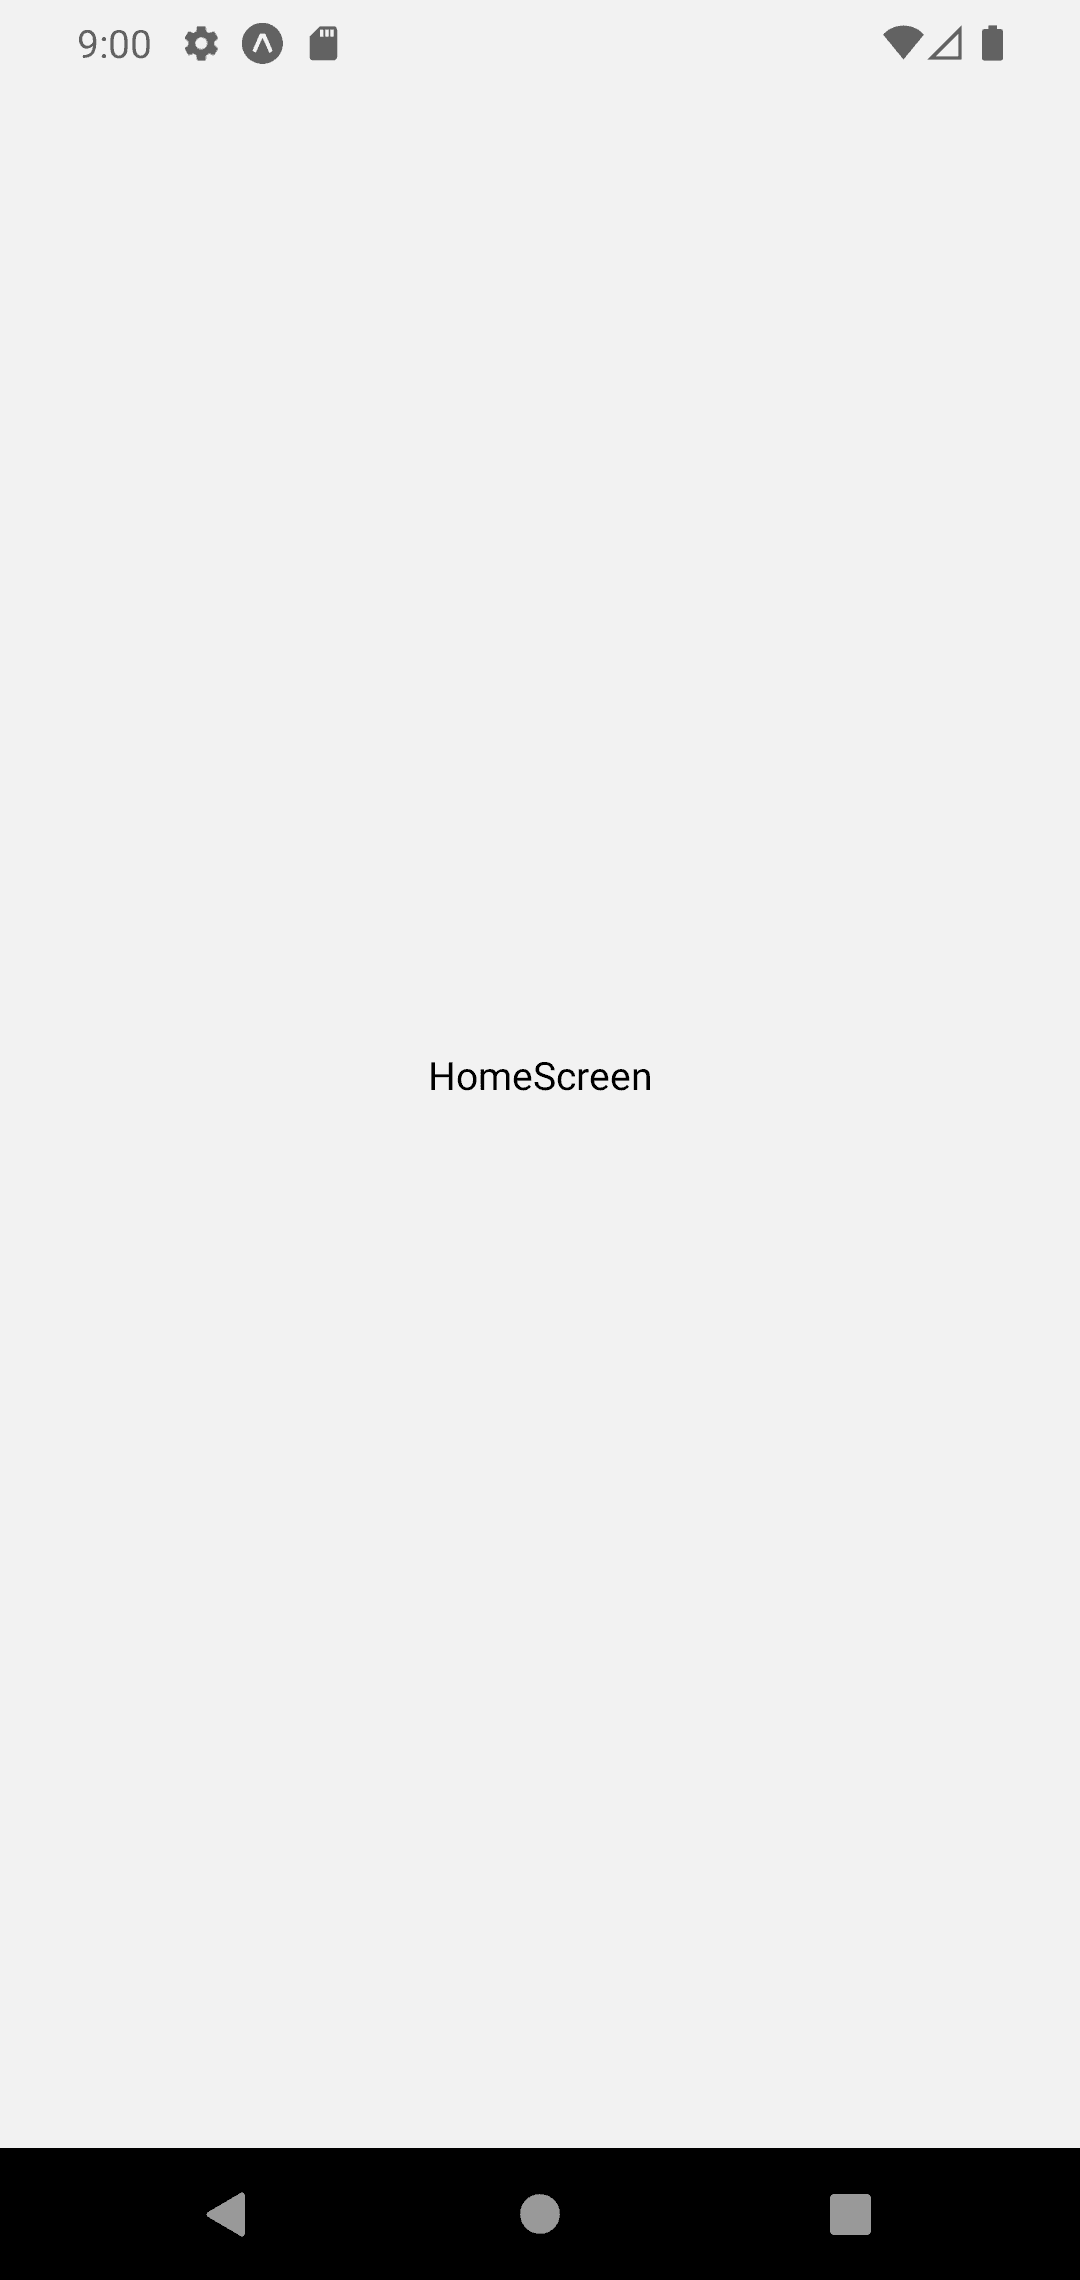
First, create the file
HomeScreen.jsxwith the following content:
// ./src/screens/HomeScreen.jsx

import React from 'react'
import { View, Text } from 'react-native'

const HomeScreen = ({ route, navigation }) => {
    return (
        <View style={{ flex: 1, justifyContent: 'center', alignItems: 'center' }}>
            <Text>HomeScreen</Text>
        </View>
    )
}

export default HomeScreen;- Next, create the file
SettingsScreen.jsxwith the following content:
// ./src/screens/SettingsScreen.jsx

import React from 'react'
import { View, Text } from 'react-native'

const SettingsScreen = ({ route, navigation }) => {
    return (
        <View style={{ flex: 1, justifyContent: 'center', alignItems: 'center' }}>
            <Text>SettingsScreen</Text>
        </View>
    )
}

export default SettingsScreen;- Now let's move on to
App.js, the root file of the project. We need to create a stack and import the screens.
// ./App.js

import React from 'react';
import { StatusBar } from 'expo-status-bar';
import { SafeAreaProvider } from 'react-native-safe-area-context';

import { NavigationContainer } from '@react-navigation/native';
import { createNativeStackNavigator } from '@react-navigation/native-stack';

import HomeScreen from './src/screens/HomeScreen';
import SettingsScreen from './src/screens/SettingsScreen';

const Stack = createNativeStackNavigator();

export default function App() {

  return (
    <SafeAreaProvider style={{ flex: 1 }}>
      <StatusBar />
      <NavigationContainer>
        <Stack.Navigator initialRouteName='Home' screenOptions={{ headerShown: false }}>
          <Stack.Screen name='Home' component={HomeScreen} />
          <Stack.Screen name='Settings' component={SettingsScreen} />
        </Stack.Navigator>
      </NavigationContainer>
    </SafeAreaProvider>
  );
}
-
Up until this point, everything is clear, isn't it? Now, it's time to implement the color theme 🎨
-
For the color themes, we will utilize the color palette object properties provided by React Navigation. These properties will serve as the dark and default themes. Feel free to customize the color codes or even add your own.
Default Theme;
Source Code- Let's start by creating a new file called
DefaultTheme.jswith the following content:
// ./src/theme/DefaultTheme.js

const DefaultTheme = {
    dark: false,
    colors: {
        primary: 'rgb(0, 122, 255)',
        background: 'rgb(242, 242, 242)',
        card: 'rgb(255, 255, 255)',
        text: 'rgb(28, 28, 30)',
        border: 'rgb(216, 216, 216)',
        notification: 'rgb(255, 59, 48)',
    }
};

export default DefaultTheme;
Dark Theme;
- Source Code- Create a new file
DarkTheme.jswith the following content:
// ./src/theme/DarkTheme.js

const DarkTheme = {
    dark: true,
    colors: {
        primary: 'rgb(10, 132, 255)',
        background: 'rgb(1, 1, 1)',
        card: 'rgb(18, 18, 18)',
        text: 'rgb(229, 229, 231)',
        border: 'rgb(39, 39, 41)',
        notification: 'rgb(255, 69, 58)',
    }
};

export default DarkTheme;- Let's import them into
App.jsand create our App Context Provider. React Context is used for passing data deeply within a context. We will wrap our stack with context and share data throughout the project.
// ./src/context/AppContext.js

import React from 'react';
export const AppContext = React.createContext();
// ./App.js
import React, { useState, useMemo } from 'react';
import { StatusBar } from 'expo-status-bar';
import { StyleSheet, Text, View } from 'react-native';
import { SafeAreaProvider } from 'react-native-safe-area-context';
import { NavigationContainer } from '@react-navigation/native';
import { createNativeStackNavigator } from '@react-navigation/native-stack';
import HomeScreen from './src/screens/HomeScreen';
import SettingsScreen from './src/screens/SettingsScreen';
const Stack = createNativeStackNavigator();
import DarkTheme from './src/theme/DarkTheme';
import DefaultTheme from './src/theme/DefaultTheme';
import { AppContext } from './src/context/AppContext';
export default function App() {
const [isDarkTheme, setIsDarkTheme] = useState(false);
const appContext = useMemo(() => {
return {
isDarkTheme,
setIsDarkTheme
}
});
return (
<SafeAreaProvider style={{ flex: 1 }}>
<StatusBar style={isDarkTheme ? 'light' : 'dark'} />
<NavigationContainer theme={isDarkTheme ? DarkTheme : DefaultTheme}>
<AppContext.Provider value={appContext}>
<Stack.Navigator initialRouteName='Home' screenOptions={{ headerShown: false }}>
<Stack.Screen name='Home' component={HomeScreen} />
<Stack.Screen name='Settings' component={SettingsScreen} />
</Stack.Navigator>
</AppContext.Provider>
</NavigationContainer>
</SafeAreaProvider>
);
}As you can see, we pass the preferred theme object to the NavigationContainer depending on the state of isDarkTheme and setIsDarkTheme. We set these config states for the entire stack with the AppContext Provider. Now, let's continue with the screens.
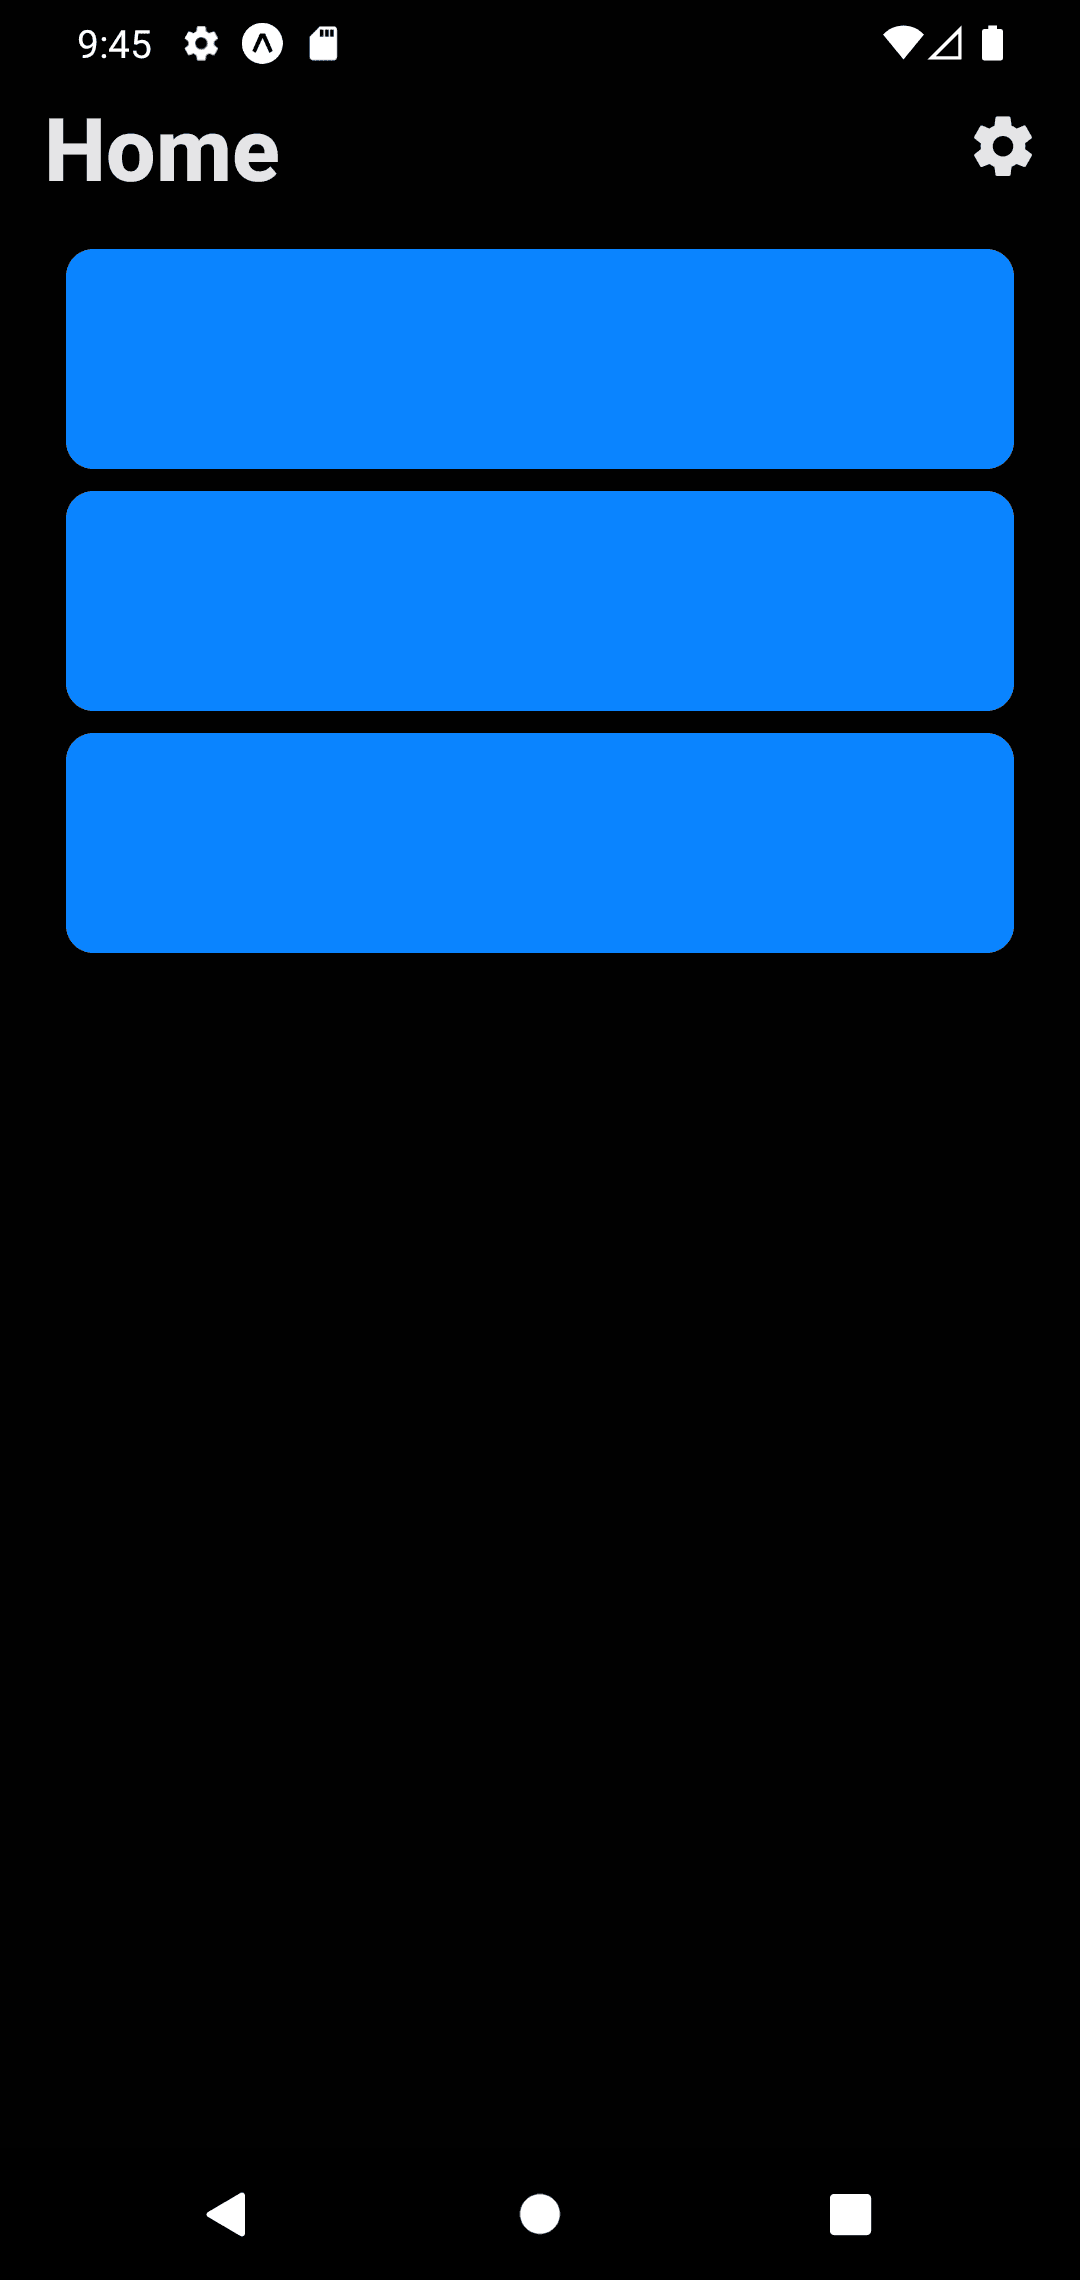
// ./src/screens/HomeScreen.jsx

import React from 'react'
import { View, Text, TouchableOpacity } from 'react-native';

import { useTheme } from '@react-navigation/native';

import { Ionicons } from '@expo/vector-icons';


const HomeScreen = ({ route, navigation }) => {

    const { colors } = useTheme();

    const navigateToSettings = () => {
        navigation.navigate('Settings')
    }

    return (
        <View style={{
            flex: 1,
            paddingHorizontal: 16,
            paddingVertical: 32,
            backgroundColor: colors.background
        }}>
            <View style={{
                flexDirection: 'row',
                alignItems: 'center',
                justifyContent: 'space-between'
            }}>
                <Text style={{
                    color: colors.text,
                    fontSize: 32,
                    fontWeight: '800'
                }}>Home</Text>
                <TouchableOpacity onPress={() => navigateToSettings()}>
                    <Ionicons name='settings-sharp' size={24} color={colors.text} />
                </TouchableOpacity>
            </View>

            <View style={{ padding: 8 }}>
                <View style={{ height: 80, backgroundColor: colors.primary, borderRadius: 10, marginTop: 8 }} />
                <View style={{ height: 80, backgroundColor: colors.primary, borderRadius: 10, marginTop: 8 }} />
                <View style={{ height: 80, backgroundColor: colors.primary, borderRadius: 10, marginTop: 8 }} />
            </View>
        </View>
    )
}

export default HomeScreen;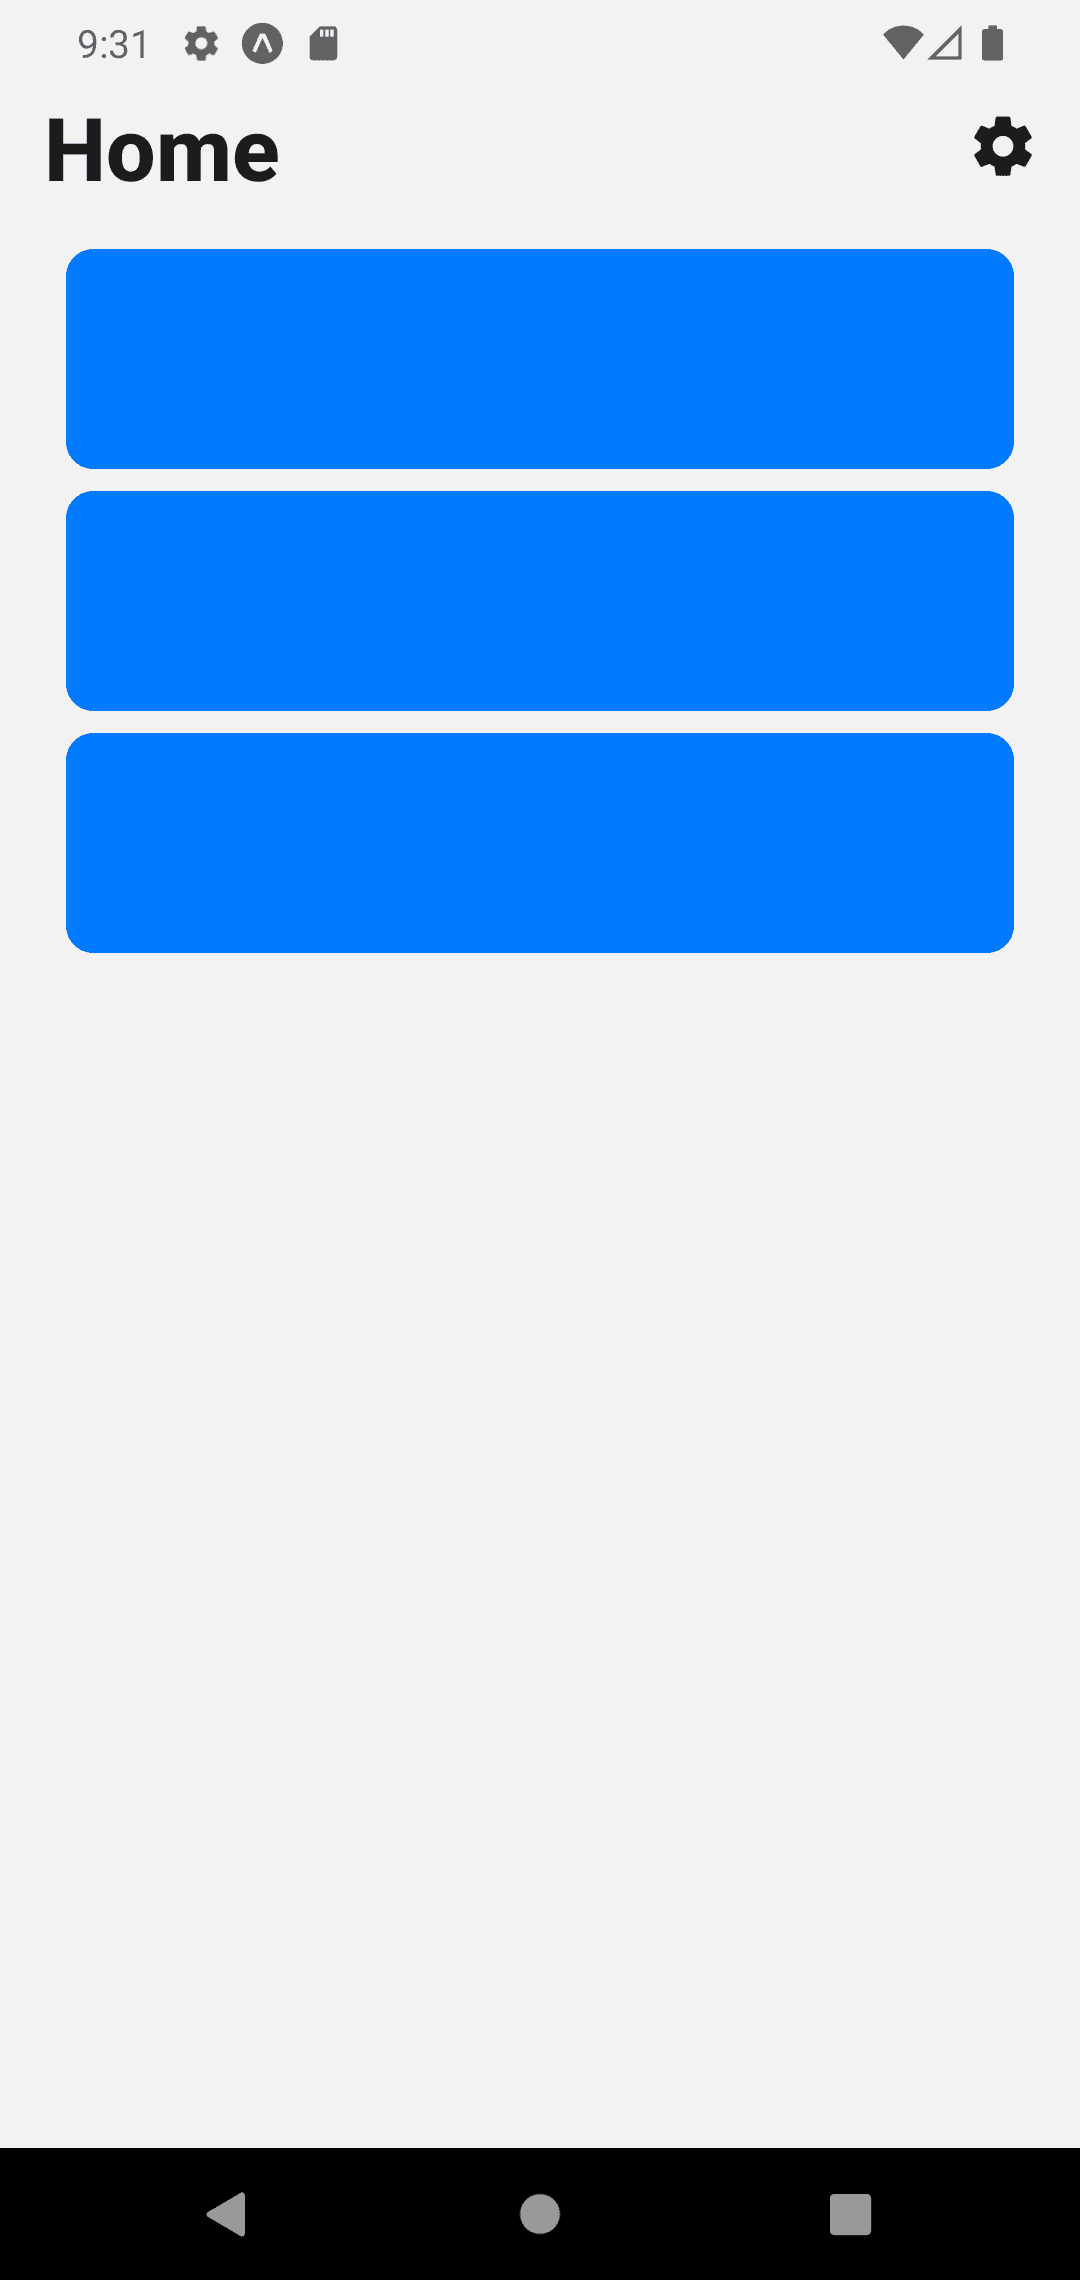
// ./src/screens/SettingsScreen.jsx
import React from 'react';
import { View, Text, TouchableOpacity } from 'react-native';
import { useTheme } from '@react-navigation/native';
import { AppContext } from '../context/AppContext';
import { Ionicons } from '@expo/vector-icons';
const SettingsScreen = () => {
const { colors } = useTheme();
const { isDarkTheme, setIsDarkTheme } = React.useContext(AppContext)
return (
<View style={{ flex: 1, paddingHorizontal: 16, paddingVertical: 32 }}>
<Text style={{
color: colors.text,
fontSize: 32,
fontWeight: '800'
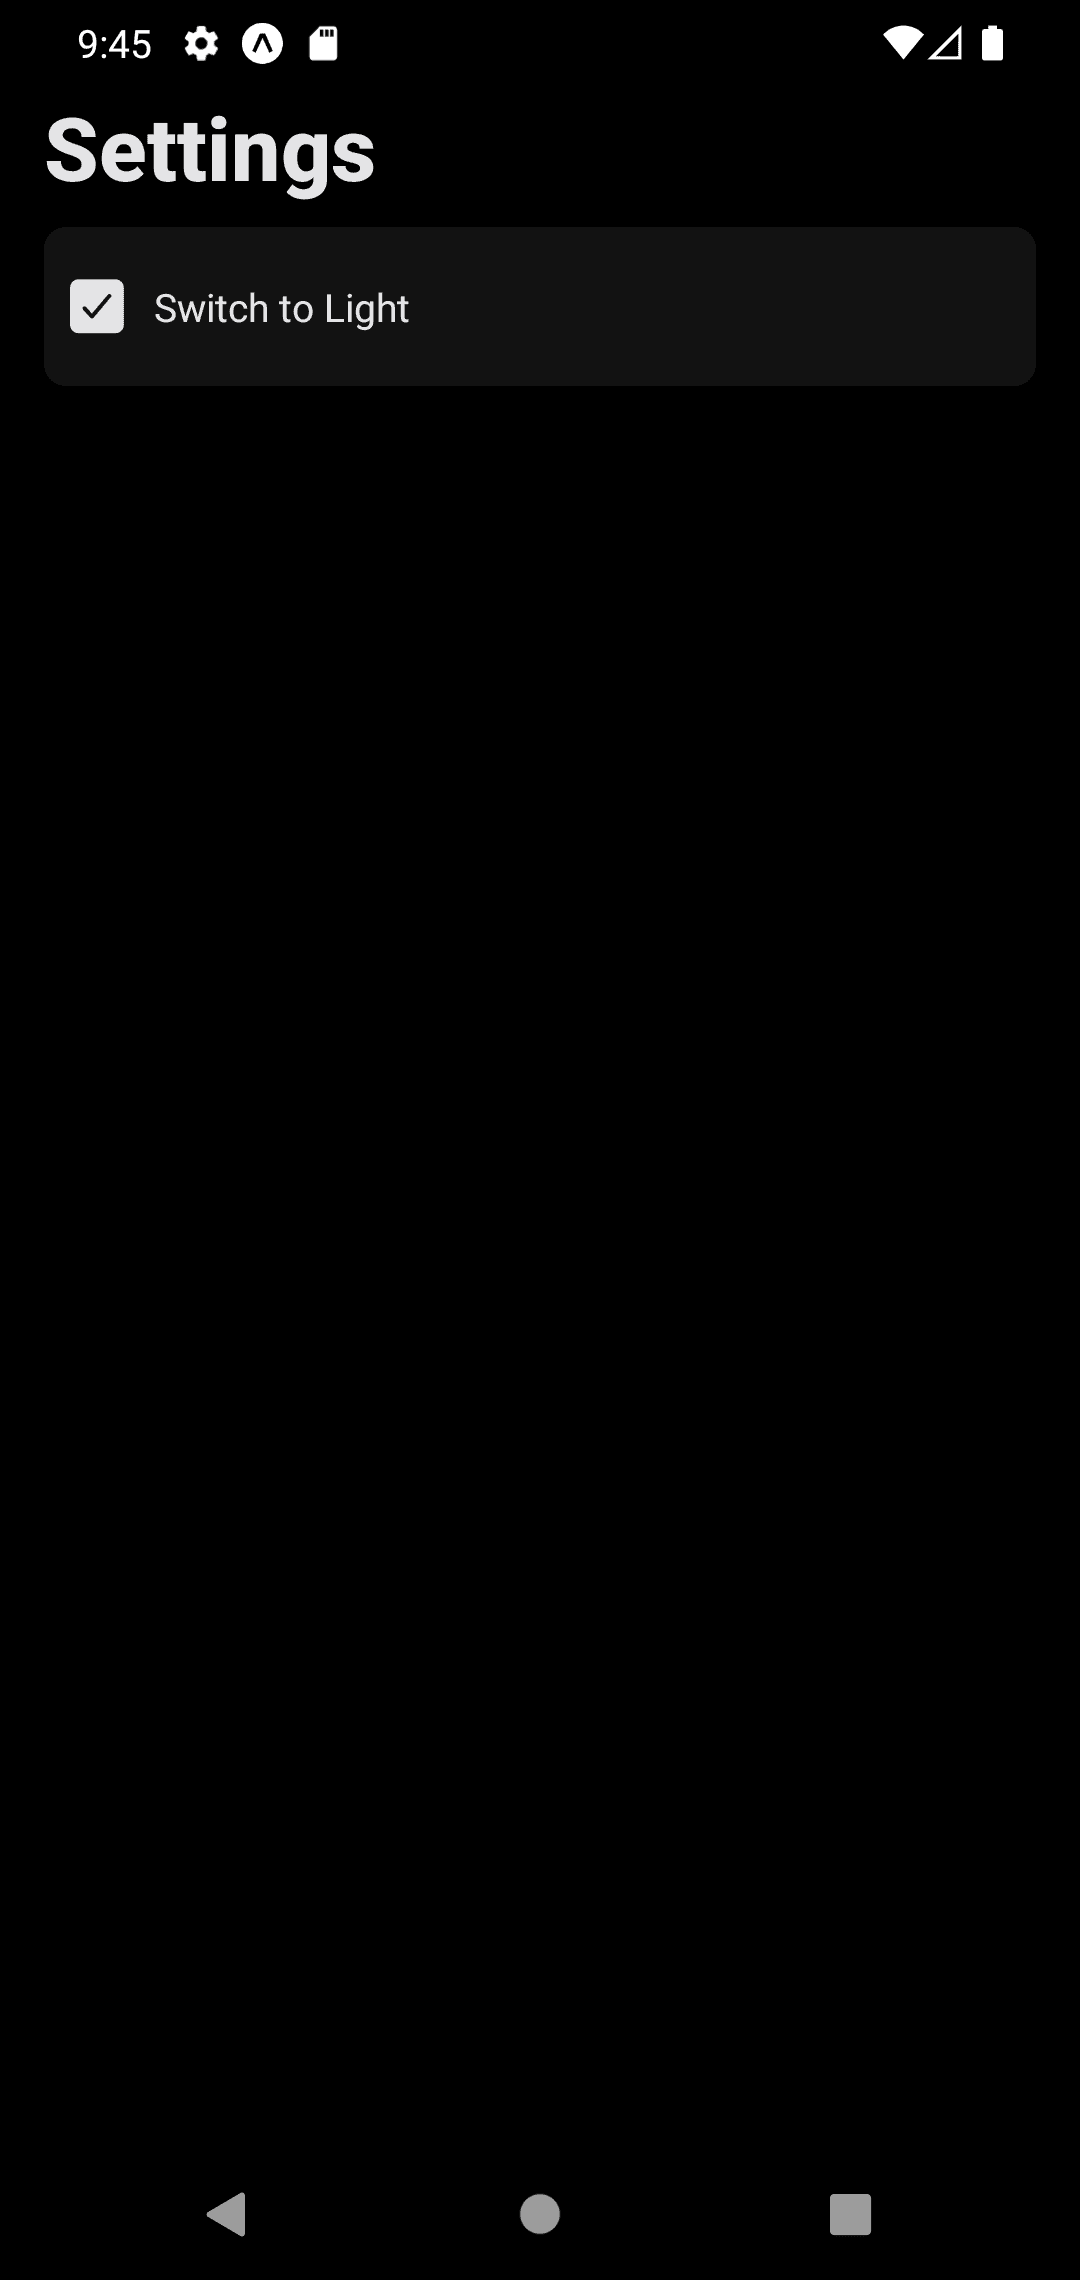
}}>Settings</Text>
<TouchableOpacity style={{
flexDirection: 'row',
paddingHorizontal: 8,
paddingVertical: 16,
backgroundColor: colors.card,
borderRadius: 8,
marginTop: 8,
alignItems: 'center'
}}
onPress={() => setIsDarkTheme(current => !current)}>
<Ionicons name={isDarkTheme ? 'checkbox' : 'square-outline'} size={24} color={colors.text} />
<Text style={{
color: colors.text,
marginLeft: 8
}}>{isDarkTheme ? 'Switch to Light' : 'Switch to Dark'}</Text>
</TouchableOpacity>
</View>
)
};
export default SettingsScreen;- As you can see, we handle isDarkTheme and setIsDarkTheme from AppContext, so we can call them whenever we want. When we set the isDarkTheme state, the UI will change accordingly.

- You can also update the theme files according to your desires. For example:
const DefaultTheme = {
    dark: false,
    colors: {
        primary: '#007AFF',
        background: '#f9f9f9',
        card: '#ffffff',
        text: '#083371',
        border: '#D8D8D8',
        notification: '#FF3B30',
        placeholder: '#9a9ea4',
        descriptionText: '#818892',
        buttonBackground: '#f1f3f7',
        income: '#2ecc71',
        incomeBackground: 'rgba(46, 204, 113, 0.2)',
        expense: '#e74c3c',
        expenseBackground: 'rgba(231, 76, 60, 0.2)'

    }
};

export default DefaultTheme;
const DarkTheme = {
dark: true,
colors: {
primary: '#0A84FF',
background: '#141a1f',
card: '#202934',
text: '#fbfefe',
border: '#272729',
notification: '#FF453A',
placeholder: '#9a9ea4',
descriptionText: '#9cabc2',
buttonBackground: '#344457',
income: '#2ecc71',
incomeBackground: 'rgba(46, 204, 113, 0.2)',
expense: '#e74c3c',
expenseBackground: 'rgba(231, 76, 60, 0.2)'
}
};
export default DarkTheme;Project Dependencies
"dependencies": {
    "@react-navigation/native": "^6.1.6",
    "@react-navigation/native-stack": "^6.9.12",
    "expo": "~48.0.18",
    "expo-status-bar": "~1.4.4",
    "react": "18.2.0",
    "react-native": "0.71.8",
    "react-native-safe-area-context": "4.5.0",
    "react-native-screens": "~3.20.0",
    "react-native-reanimated": "~2.14.4"
  }
Youtube Tutorial Video
This video answers following topics;
- ✅Implementing dark and light theme.
- ✅Implementing basic fadein animation with react reanimated.
Source Code
Github Repository LinkInstallation
Clone the repo to your directory and install the packages through npm using:
npm installRun
Run the project with Metro Bundler
npx expo startConclusion
- We have created Light and Dark theme color data and created a context for passing data throughout our project. By using React Context, we can easily access and update the theme state, allowing us to dynamically change the UI based on user preferences. If you watch the youtube video, you will achive implementing full finance app with multiple color theme.