
Introduction
In this tutorial, you will learn how to use React Navigation in a React Native project. We will show you how to move between screens and pass data (parameters) from one screen to another. This is a basic but important skill for every React Native developer if you want to go with React Navigation.
Creating Project
npx create-expo-app@latest --template blank-typescript react-navigation-screensEnter the directory
cd react-navigation-screensInstalling Dependencies
React Navigation is a routing and navigation library for React Native and Web apps.
npm install @react-navigation/native
npx expo install react-native-screens react-native-safe-area-context
npm install @react-navigation/native-stack
Starting the Emulator
npx expo start- Boom, our emulator is up and running!

Implementation
Let's create our screens and their basic structure:
import React from 'react'
import { View, Text } from 'react-native'

const LoginScreen = () => {
    return (
        <View style={{ flex: 1, justifyContent: 'center', alignItems: 'center' }}>
            <Text>LoginScreen</Text>
        </View>
    )
}

export default LoginScreen;import React from 'react'
import { View, Text } from 'react-native'
const HomeScreen = () => {
return (
<View style={{ flex: 1, justifyContent: 'center', alignItems: 'center' }}>
<Text>HomeScreen</Text>
</View>
)
}
export default HomeScreen;Also we need to define navigation types, it will help us when calling navigate method
- When passing to HomeScreen, we need to pass username:string param too.
export type RootStackParamList = {
    Home: { username: string };
    Login: any;
};
Let's update our project's root file, App.js, and import the screens:
import { StatusBar } from 'expo-status-bar';
import { SafeAreaProvider } from 'react-native-safe-area-context';
import { NavigationContainer } from '@react-navigation/native';
import { createNativeStackNavigator } from '@react-navigation/native-stack';
import LoginScreen from './screens/LoginScreen';
import HomeScreen from './screens/HomeScreen';
import { RootStackParamList } from './types';
const Stack = createNativeStackNavigator<RootStackParamList>();
export default function App() {
return (
<SafeAreaProvider style={{ flex: 1 }}>
<StatusBar style='light' />
<NavigationContainer>
<Stack.Navigator initialRouteName='Login' screenOptions={{ headerShown: false }}>
<Stack.Screen name='Login' component={LoginScreen} />
<Stack.Screen name='Home' component={HomeScreen} />
</Stack.Navigator>
</NavigationContainer>
</SafeAreaProvider>
);
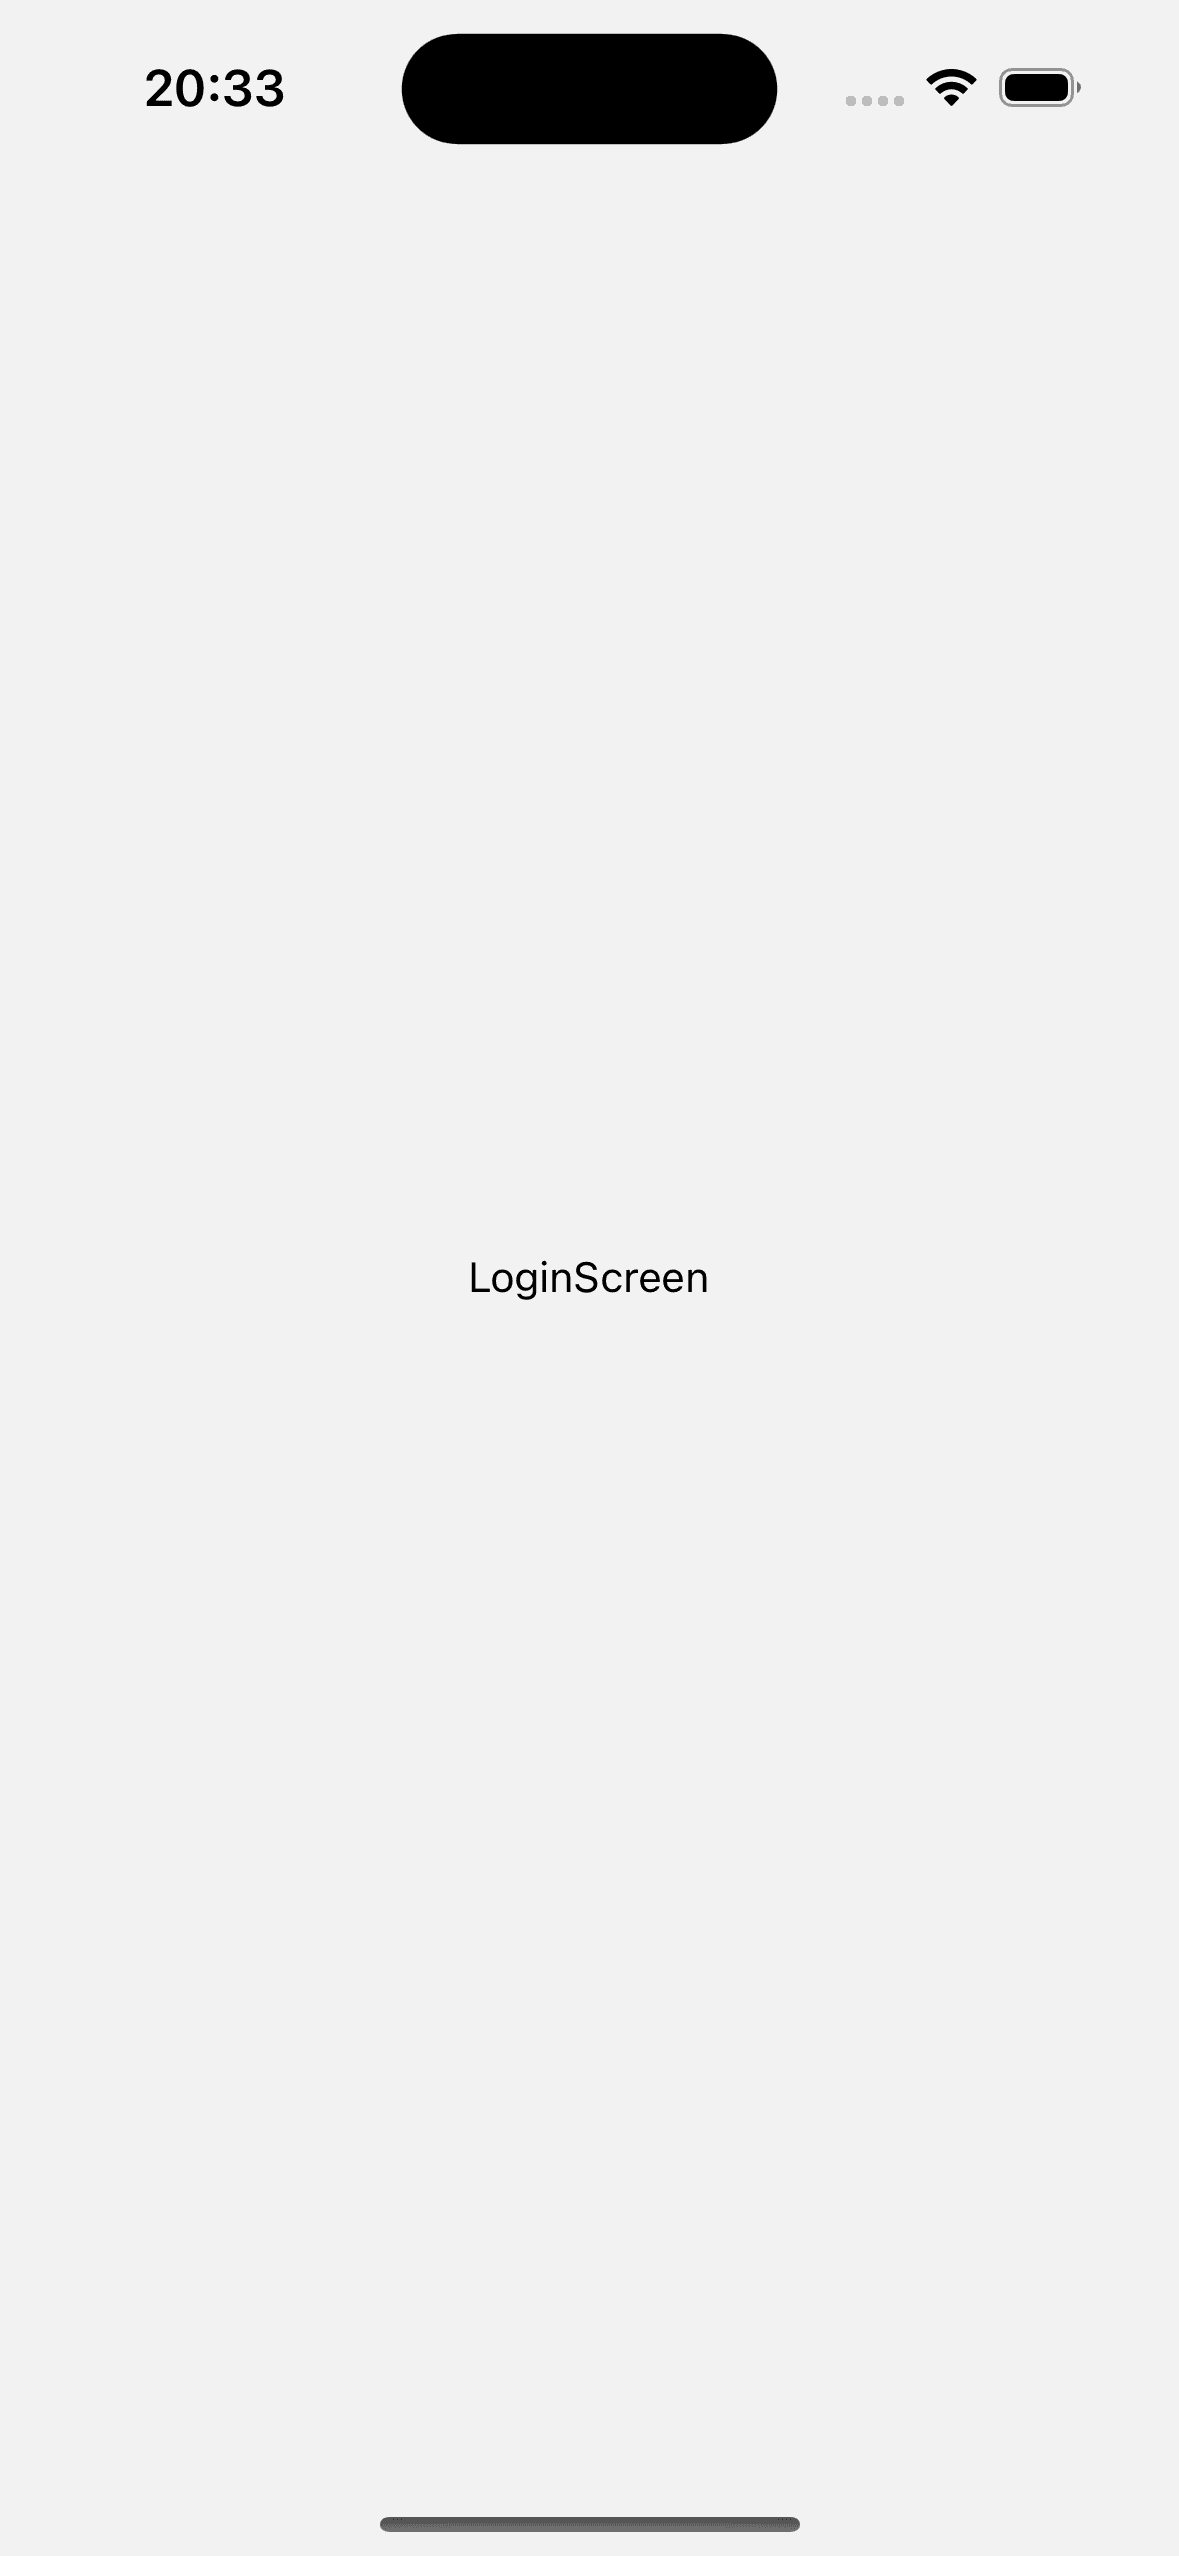
}Now, we can see the LoginScreen.
Let's go back to our LoginScreen and implement the UI:
import React, { useState } from 'react';
import { StyleSheet, View, Text, TextInput, TouchableOpacity } from 'react-native';
import { NativeStackNavigationProp } from '@react-navigation/native-stack';
import { useNavigation } from '@react-navigation/native';
import { FontAwesome5 } from '@expo/vector-icons';

import { RootStackParamList} from "../types";


type HomeScreenNavigationProp = NativeStackNavigationProp<RootStackParamList, 'Home'>;

const LoginScreen = () => {

    const navigation = useNavigation<HomeScreenNavigationProp>();
    const [username, setUsername] = useState('');
    const onLogin = () => {
        navigation.navigate('Home', { username: username })
    }

    return (
        <View style={{
            flex: 1,
            justifyContent: 'center',
            padding: 20,
            backgroundColor: '#121212'
        }}>

            <View style={{
                width: 120,
                height: 120,
                justifyContent: 'center',
                alignItems: 'center',
                borderRadius: 60,
                borderWidth: 1,
                borderColor: '#FFF',
                alignSelf: 'center'
            }}>
                <FontAwesome5 name='user-alt' size={80} color='#FFF' />
            </View>

            <TextInput
                style={{
                    color: '#FFF',
                    borderWidth: 1,
                    borderColor: '#FFF',
                    padding: 10,
                    borderRadius: 10,
                    marginTop: 40
                }}
                value={username}
                onChangeText={setUsername}
                placeholder='Your name'
                placeholderTextColor='#FFF' />

            <TouchableOpacity
                disabled={username.length < 3}
                style={{
                    borderWidth: 1,
                    borderColor: '#FFF',
                    padding: 15,
                    marginTop: 20,
                    borderRadius: 10,
                    justifyContent: 'center',
                    alignItems: 'center',
                    backgroundColor: '#6D8AFE', opacity: username.length < 3 ? 0.5 : 1
                }}
                onPress={() => onLogin()}>
                <Text style={{
                    color: '#FFF',
                    fontWeight: '600',
                    fontSize: 16
                }}>ENTER</Text>
            </TouchableOpacity>
        </View>
    )
}

export default LoginScreen;
The final implementation of LoginScreen is as follows:
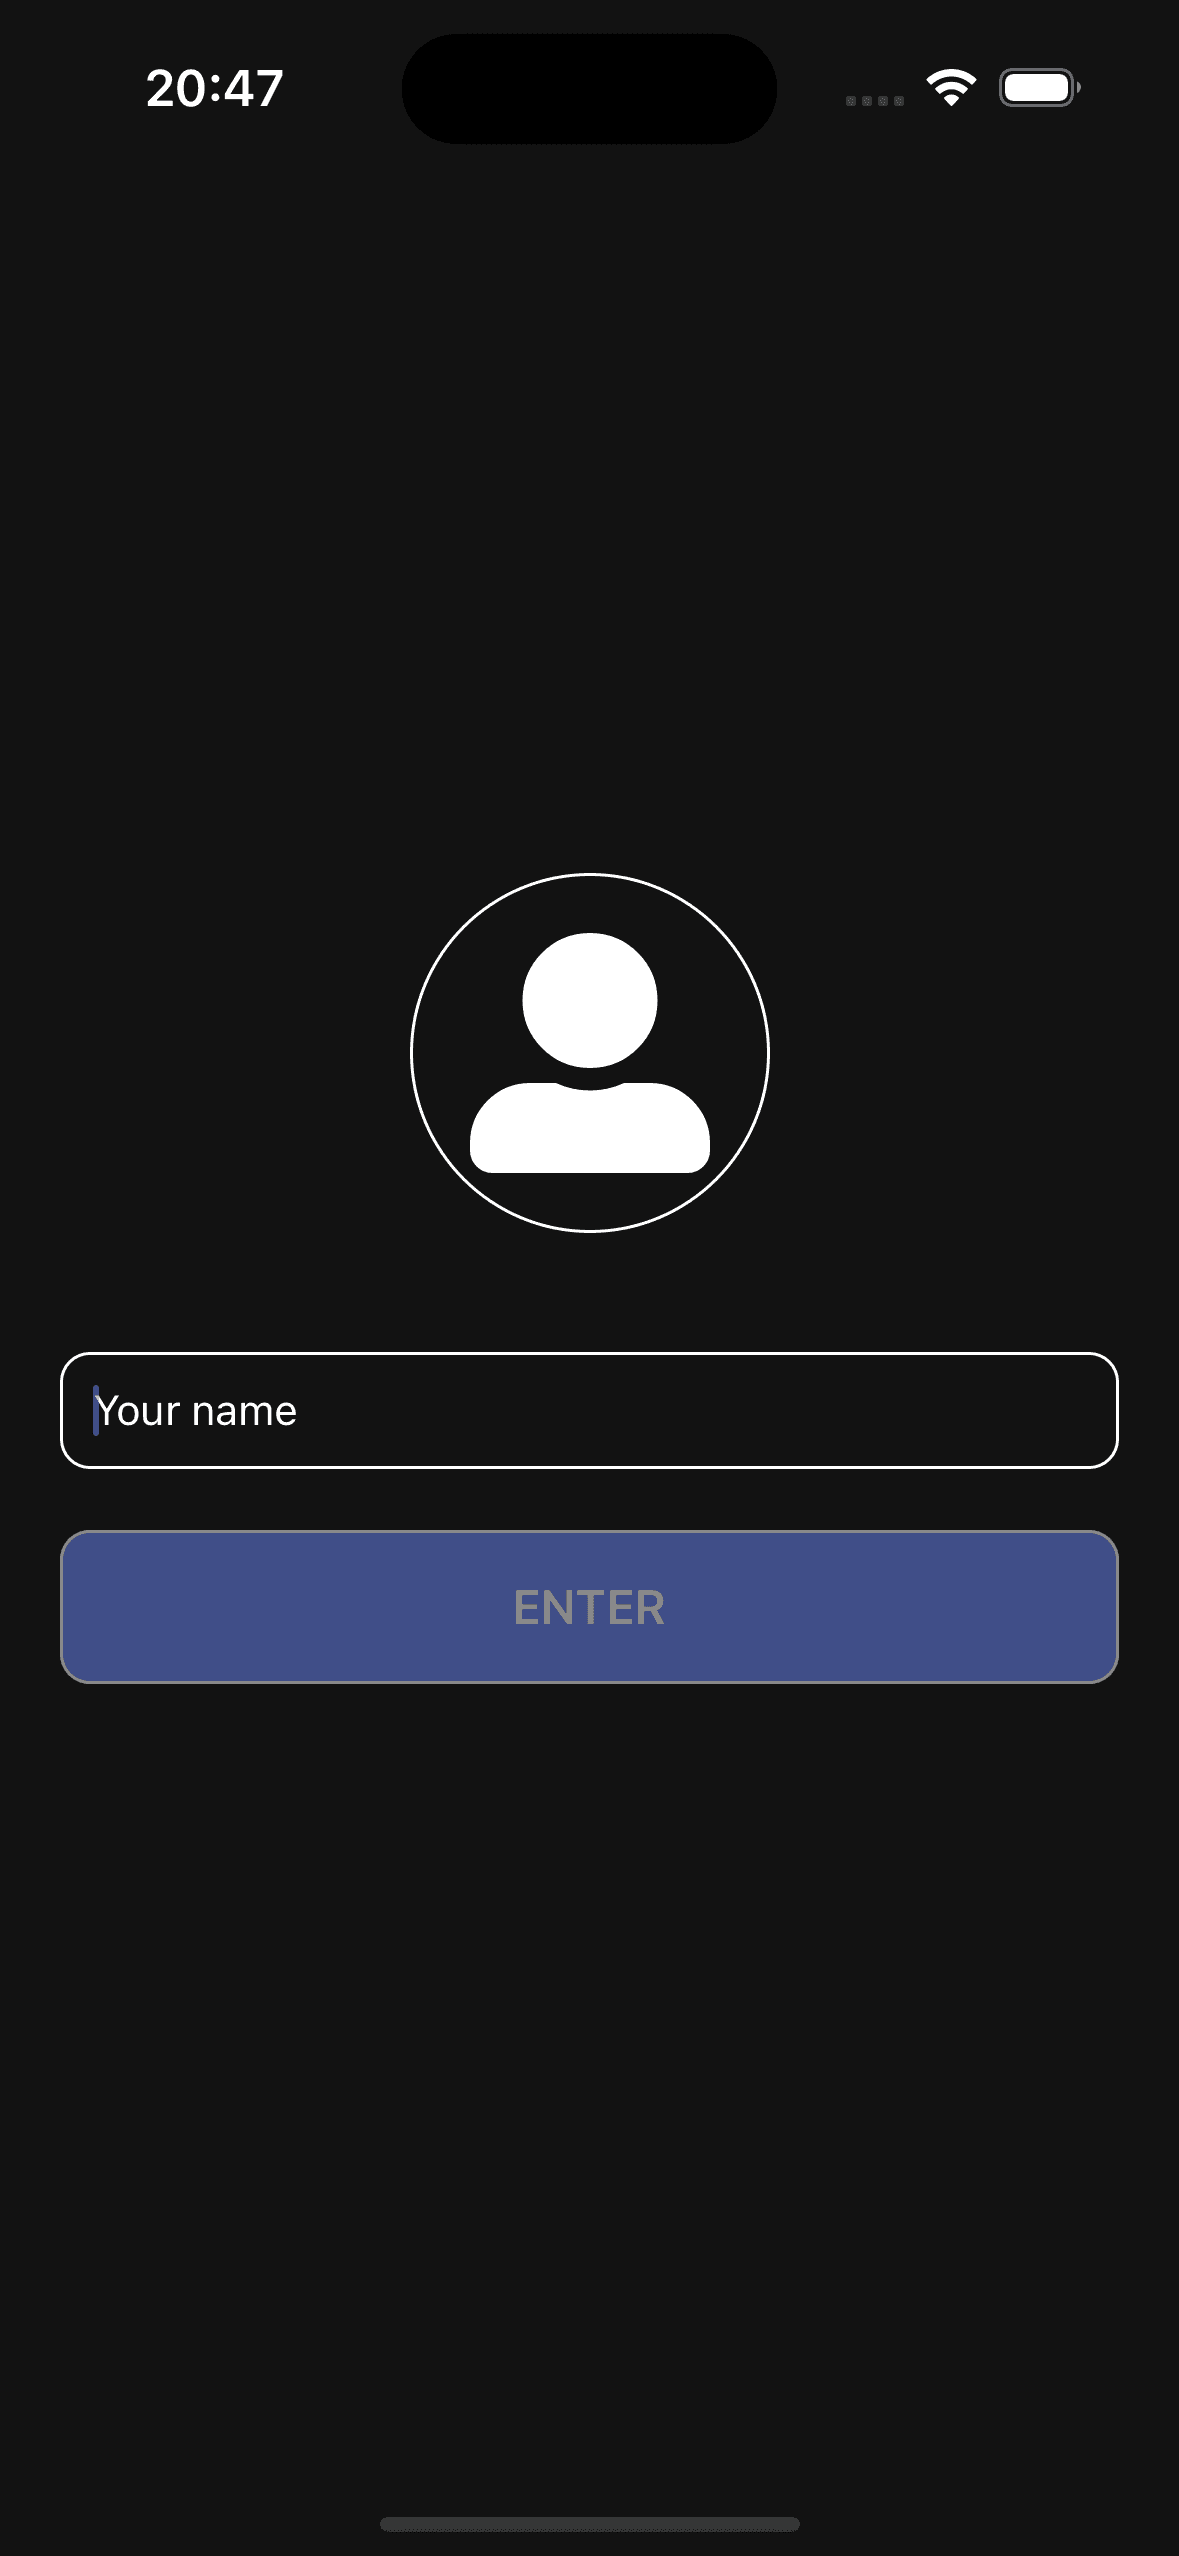
When we input the username and press ENTER, the following code block runs, navigating to the HomeScreen and passing the username as a parameter:
    const onLogin = () => {
        navigation.navigate('Home', { username: username })
    }
Okay, let's update the HomeScreen:
import React, { useState, useEffect } from 'react';
import { RouteProp, useNavigation } from '@react-navigation/native';
import { View, Text, TouchableOpacity } from 'react-native';
import { FontAwesome5 } from '@expo/vector-icons';

import { RootStackParamList } from '../types';
import { NativeStackNavigationProp } from '@react-navigation/native-stack';

type HomeScreenRouteProp = RouteProp<RootStackParamList, 'Home'>;
type NavigationProp = NativeStackNavigationProp<RootStackParamList>;

type Props = {
    route: HomeScreenRouteProp;
};

const icons = [
    { name: 'smile', color: '#FFD700' },
    { name: 'rocket', color: '#FF4500' },
    { name: 'music', color: '#1E90FF' },
    { name: 'gamepad', color: '#00FF7F' },
    { name: 'laugh-beam', color: '#FF69B4' },
];

const HomeScreen = ({ route }: Props) => {
    const { username } = route.params;
    const navigation = useNavigation<NavigationProp>();

    const [iconIndex, setIconIndex] = useState(0);

    useEffect(() => {
        const interval = setInterval(() => {
            setIconIndex((prev) => (prev + 1) % icons.length);
        }, 500);

        return () => clearInterval(interval);
    }, []);

    const currentIcon = icons[iconIndex];

    return (
        <View
            style={{
                flex: 1,
                backgroundColor: '#121212',
                paddingHorizontal: 20,
            }}
        >
            <TouchableOpacity
                onPress={() => navigation.goBack()}
                style={{
                    flexDirection:'row',
                    alignItems:'center',
                    marginTop: 60,
                    padding: 10,
                }}
            >
                <FontAwesome5 name="chevron-left" size={16} color="#FFF" />

                <Text
                    style={{
                        marginLeft: 10,
                        color: '#FFF',
                        fontWeight: '800',
                        fontSize: 20
                    }}
                >
                    Welcome, {username}! 👋
                </Text>

            </TouchableOpacity>

            <View style={{
                flex:1,
                alignItems:'center',
                marginTop: 30
            }}>
                <FontAwesome5
                    name={currentIcon.name as any}
                    size={100}
                    color={currentIcon.color}
                />
                <Text
                    style={{
                        color: currentIcon.color,
                        marginTop: 10,
                        fontSize: 20,
                        textTransform: 'capitalize',
                    }}
                >
                    {currentIcon.name}
                </Text>
            </View>
        </View>
    );
};

export default HomeScreen;
Yay! Now we have successfully handled the parameter and displayed it on the HomeScreen.
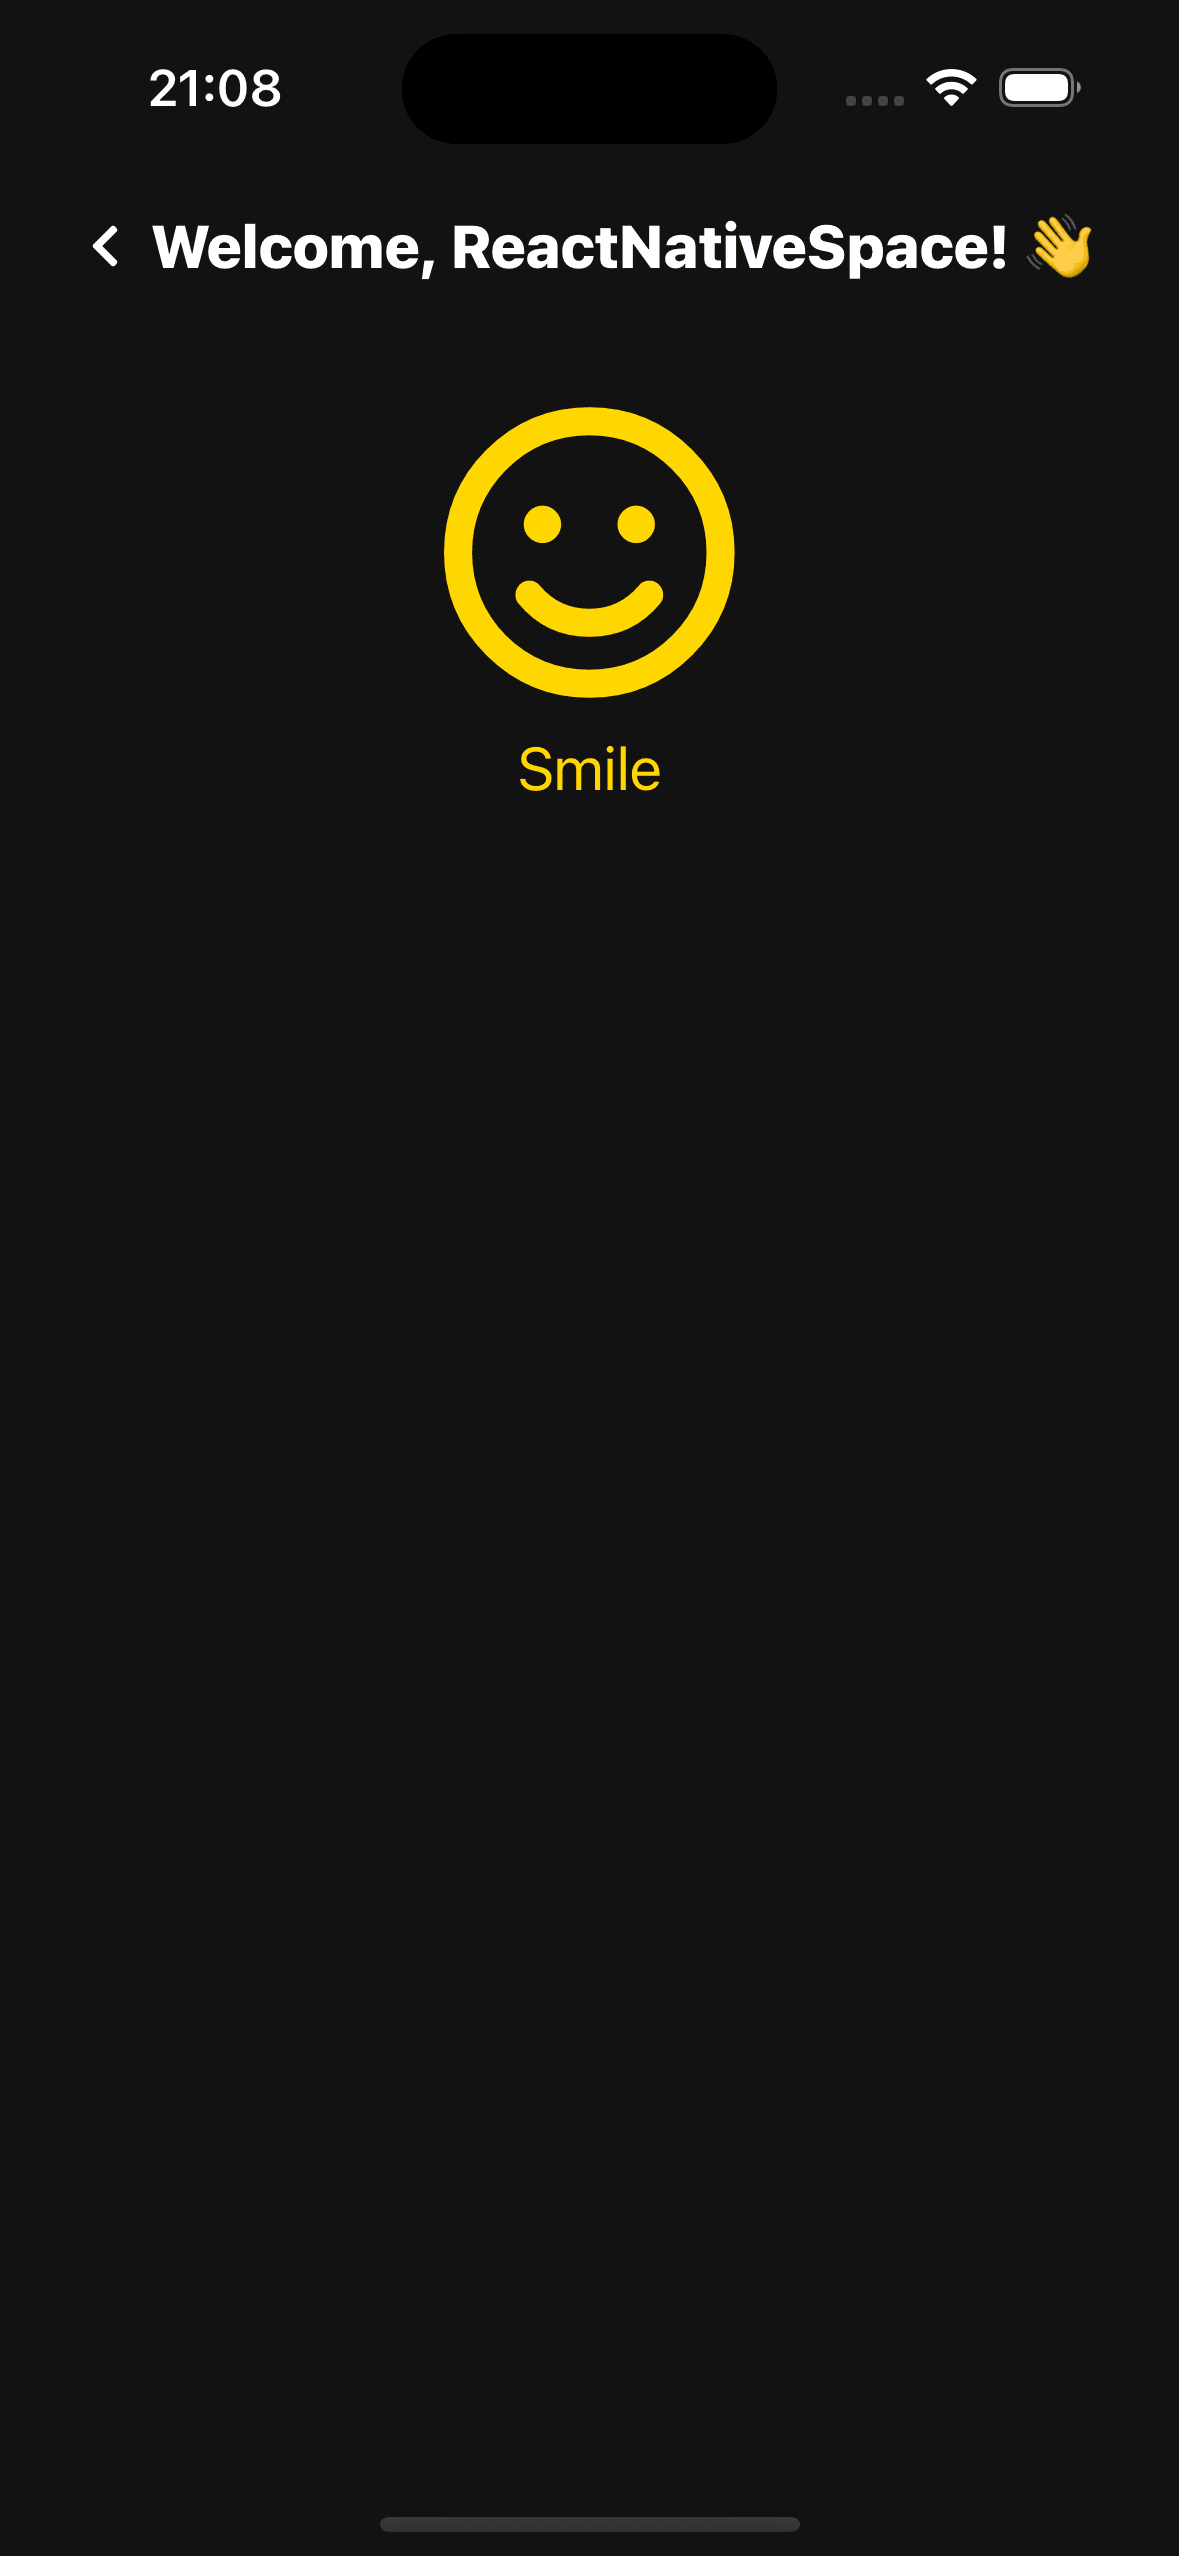
The following code block is used to retrieve the parameter:
const { username } = route.params;The following code block is used to go back to the previous screen:
    <TouchableOpacity
                  onPress={() => navigation.goBack()}
                  style={{
                      flexDirection:'row',
                      alignItems:'center',
                      marginTop: 60,
                      padding: 10,
                  }}
              >
Project Dependencies
  "dependencies": {
    "@react-navigation/native": "^7.1.9",
    "@react-navigation/native-stack": "^7.3.13",
    "expo": "~53.0.9",
    "expo-status-bar": "~2.2.3",
    "react": "19.0.0",
    "react-native": "0.79.2",
    "react-native-safe-area-context": "5.4.0",
    "react-native-screens": "~4.10.0"
  },
  "devDependencies": {
    "@babel/core": "^7.25.2",
    "@types/react": "~19.0.10",
    "typescript": "~5.8.3"
  },
Youtube Tutorial Video
This video answers following topics;
- How to install React Navigation in React Native.
- How to navigate between screens.
- How to pass parameters between screens.
Source Code
Github Repository LinkConclusion
In this tutorial, you learned how to use React Navigation in React Native to move between screens and pass data. This is a simple but important feature for many apps. Now you can create screens, navigate between them, and send information easily. If you want to learn more, check out the video and the GitHub repository.